
I love the days that follow Thanksgiving! Christmas movies and leftover pumpkin pie every morning with coffee! The tree lots start going up, the air is crisp, cars are decorated with wreaths and antlers, all the stores have their seasonal yummy treats! So to get you in the holiday mood I have 3 quick and easy holiday ideas anyone can do for just a few dollars! So lets get started with these easy DIY Christmas decorating ideas!

Lets start with these super easy, budget friendly Christmas cards! I like to make my own cards and this year I wanted super simple ! I always have fabric and a roll of jute twine laying around so I bought a pack of kraft paper and envelopes from Hobby Lobby $5 with coupon and a few $1.00 evergreen branch picks. Here are the steps to make your own cards:
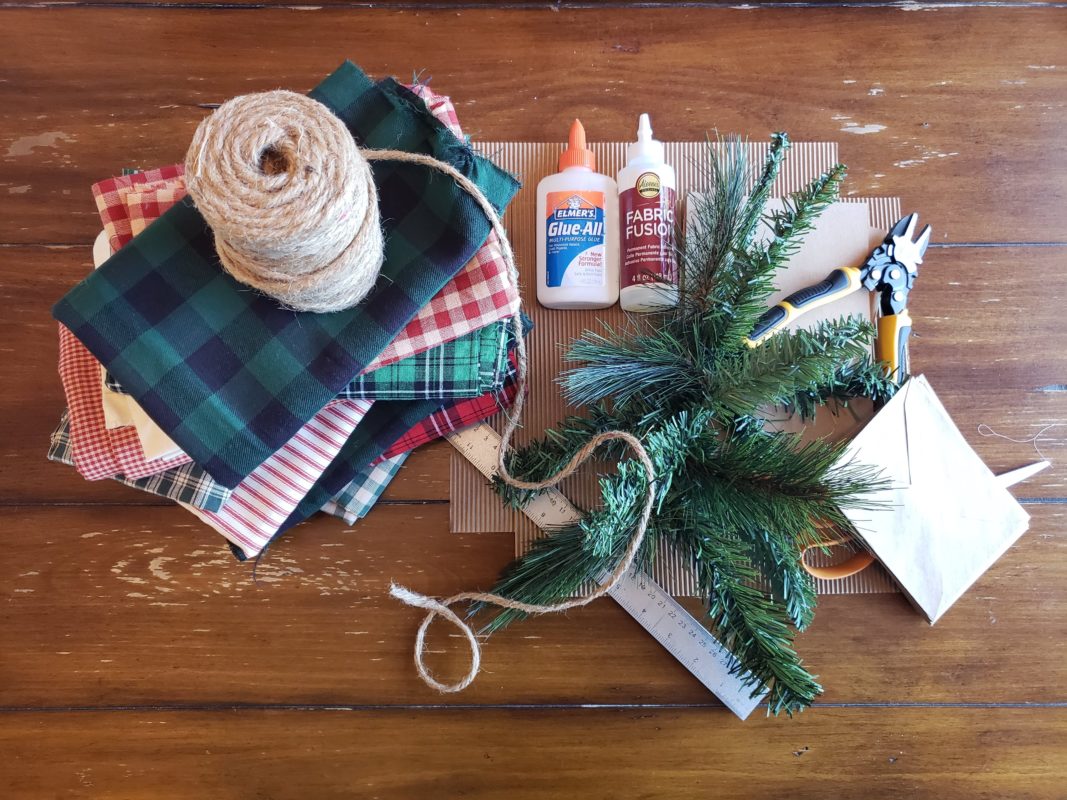
Materials Needed: Cards, fabric, faux holiday branch, jute twine, scissors, glue, ruler, wire cutters 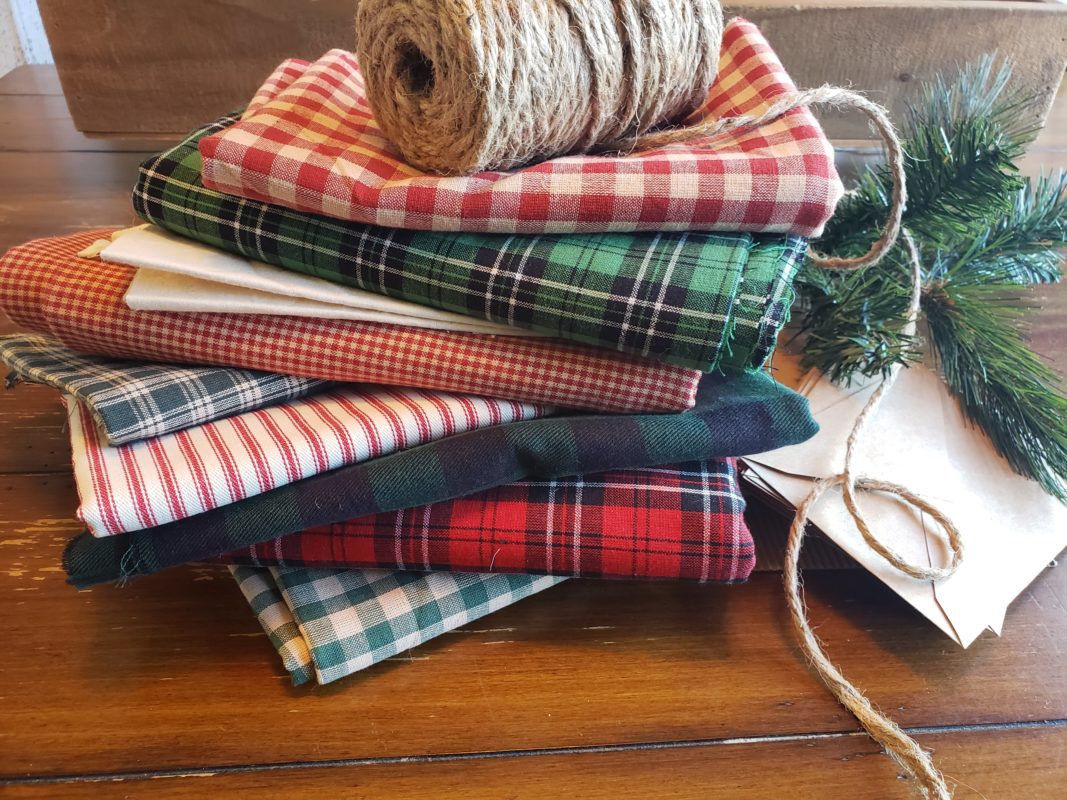
Choose different fabrics 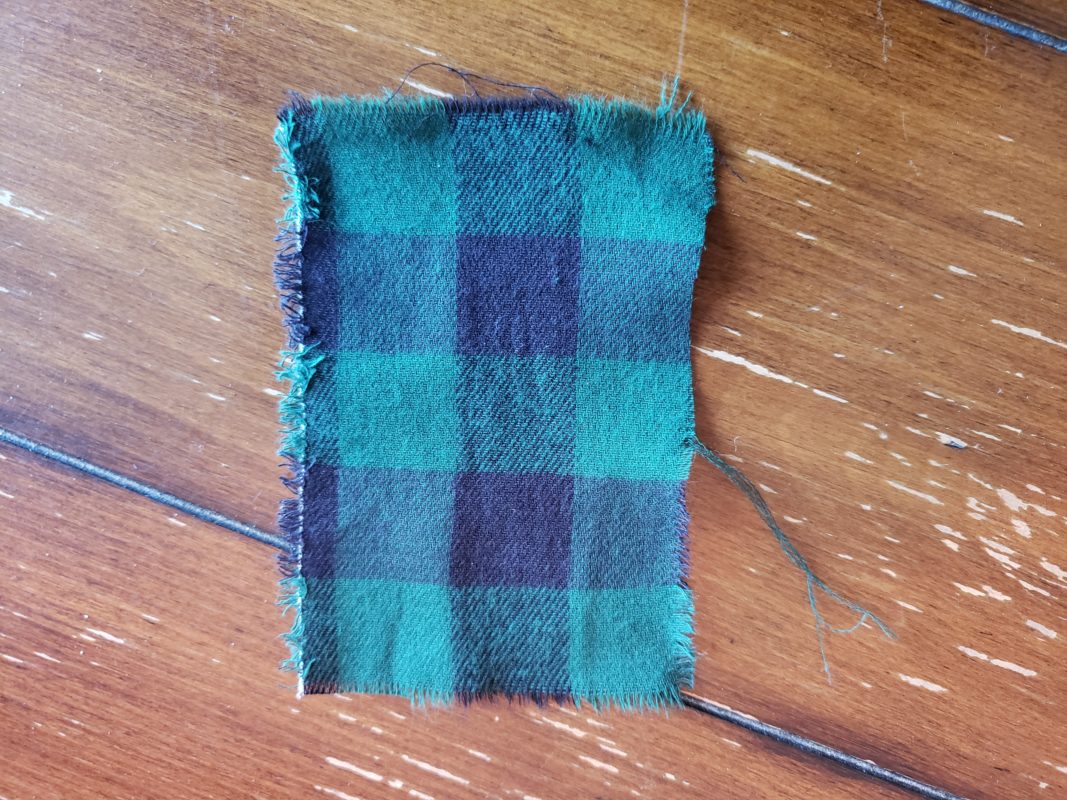
I like to pull threads to fray the edges for a rustic look 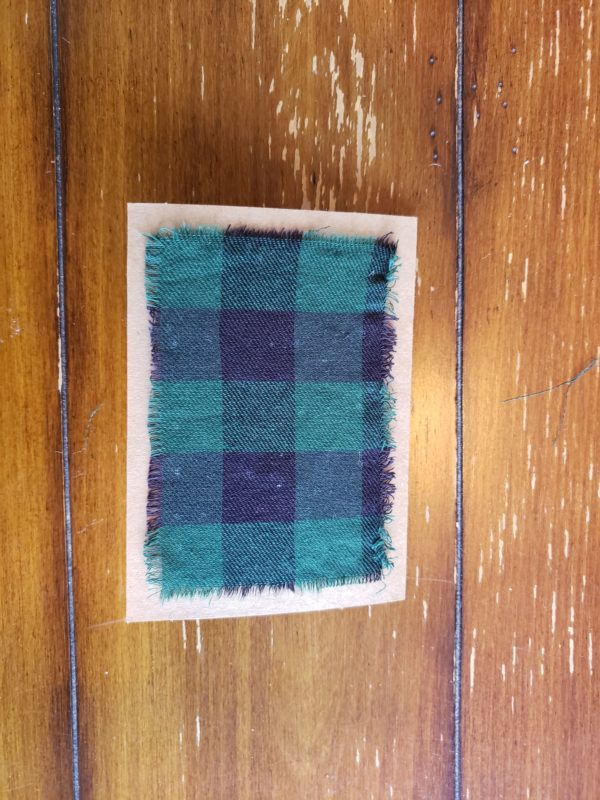
Cut a piece of fabric smaller than your card and glue onto the top of card. You can do vertical or horizontal cards 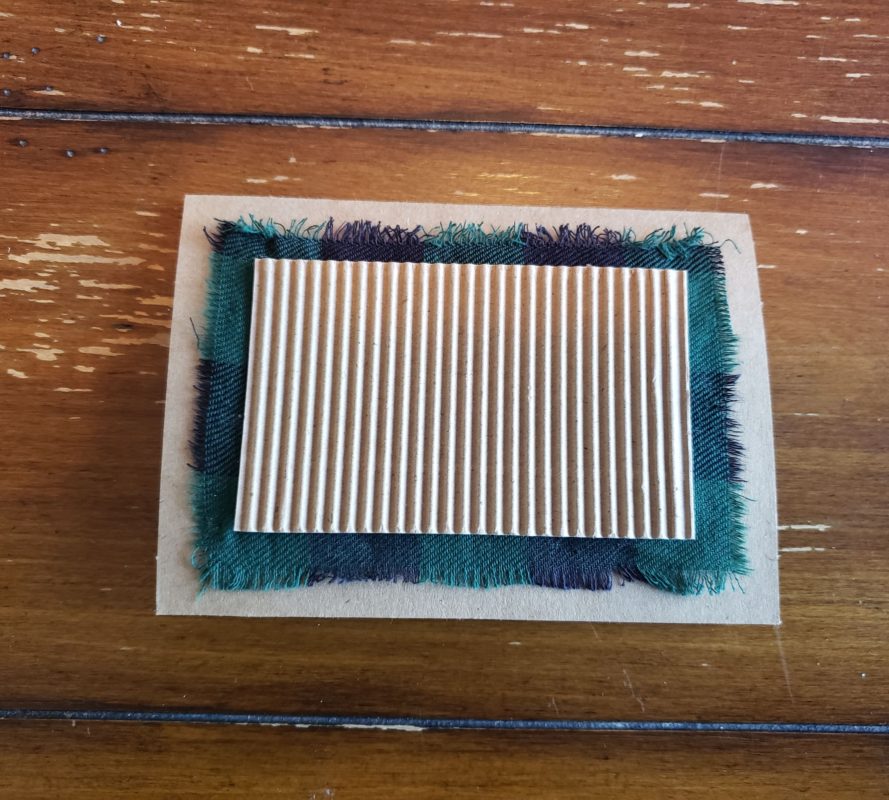
Then cut your corrugated paper smaller than the fabric and glue on top of fabric, you can use scissors or paper cutter 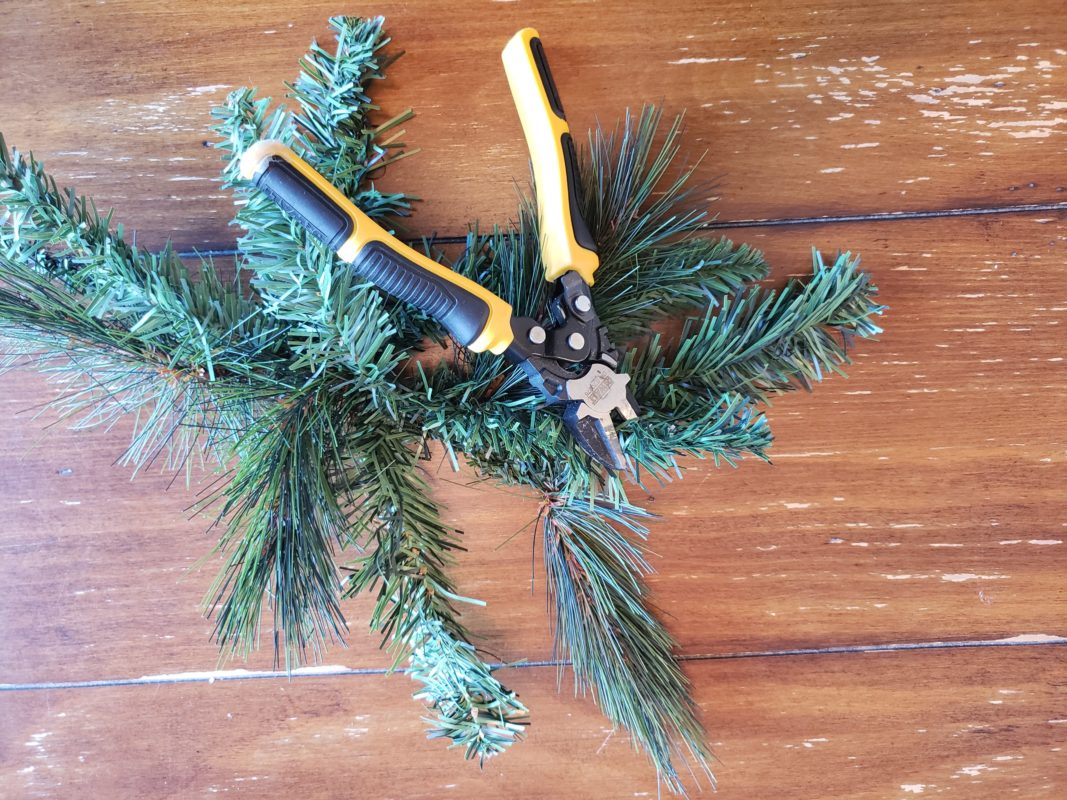
Cut a small section of your pick or garland with wire cutters or scissors if you have some old ones 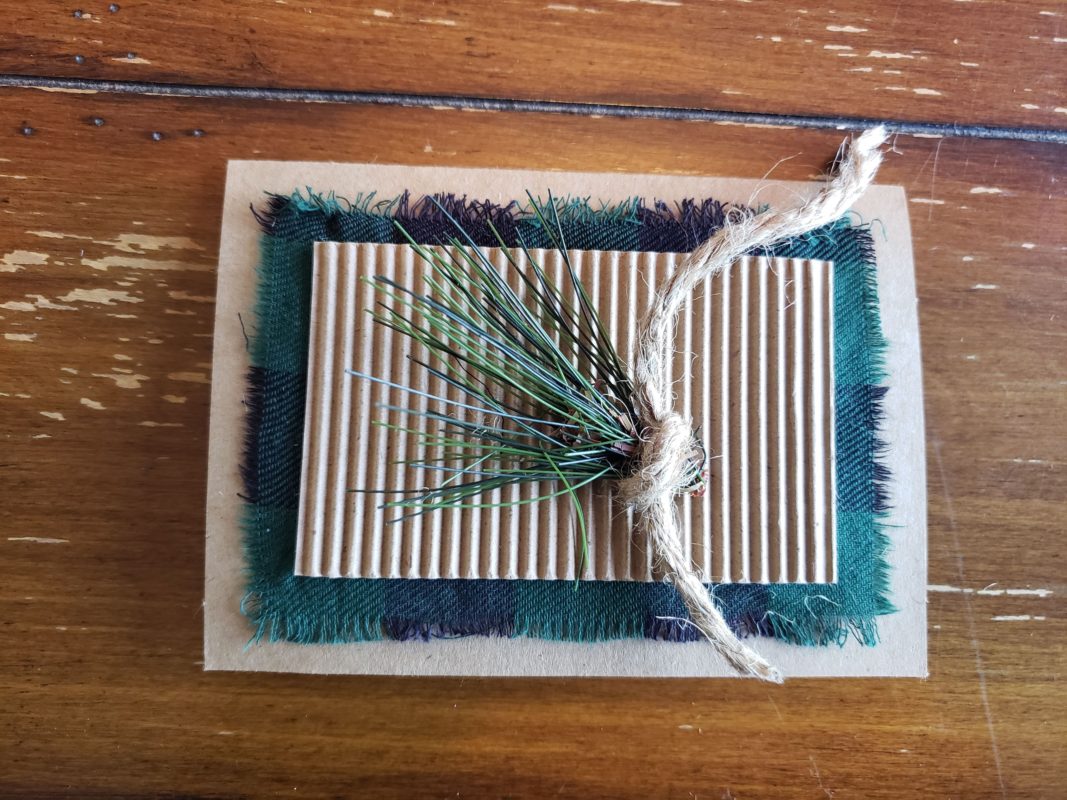
Tie a piece of jute around your evergreen, a knot, bow, half knot, anything you would like and glue it on top of paper. I put a weight on top until glue dried. 
Mix up your fabrics, ribbons, papers…get creative!
Now lets make this sparkling winter holiday sign…I love doing my own signs because I can personalize them to say anything I want them to say! I always have paint and Swarovski crystals so I just bought my wood piece which I cut to whatever length I want, but you can have them cut it for you at home depot. This sign is about 4′ or so. I usually make my own stencil by printing out the letters in word, enlarging them and then cutting them out (you can find out how I did my custom signs on my previous DIY sign blog post, but I found this cute stencil at Michaels which made it super quick and easy!
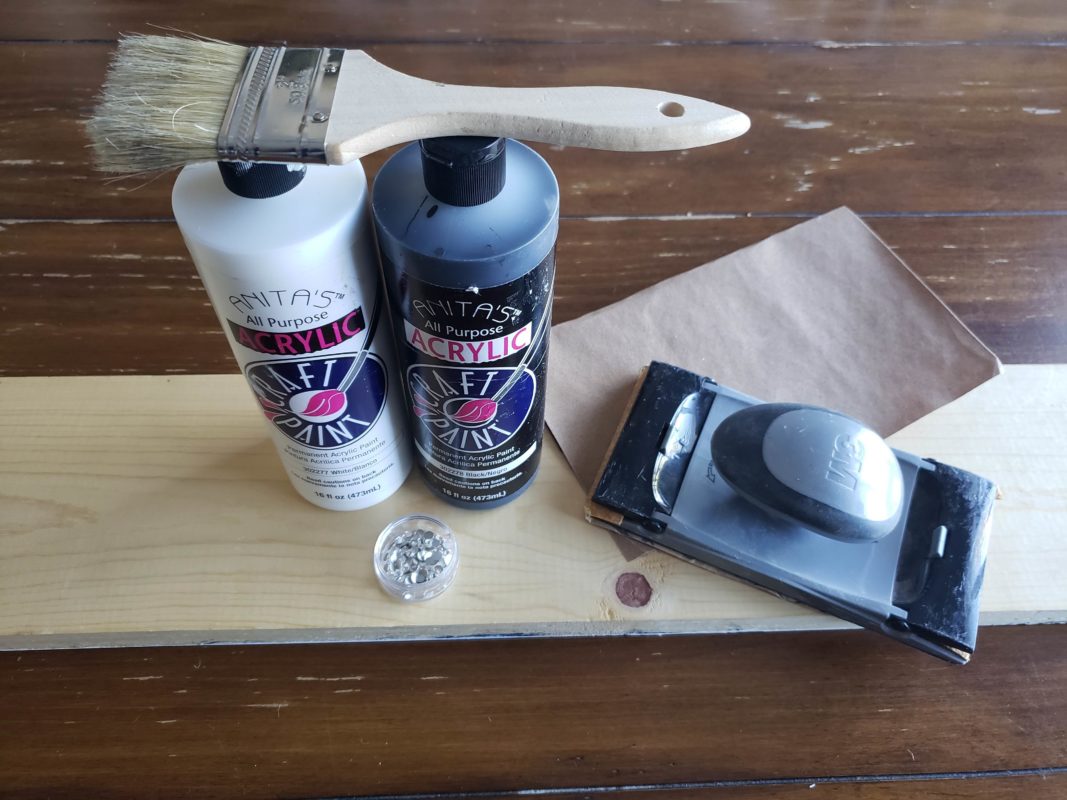
Materials needed: Board, paint brush, white and black acrylic craft paint, sand paper, stencil, crystals or jewels and tacky or gem tac glue. Tweezers are optional. 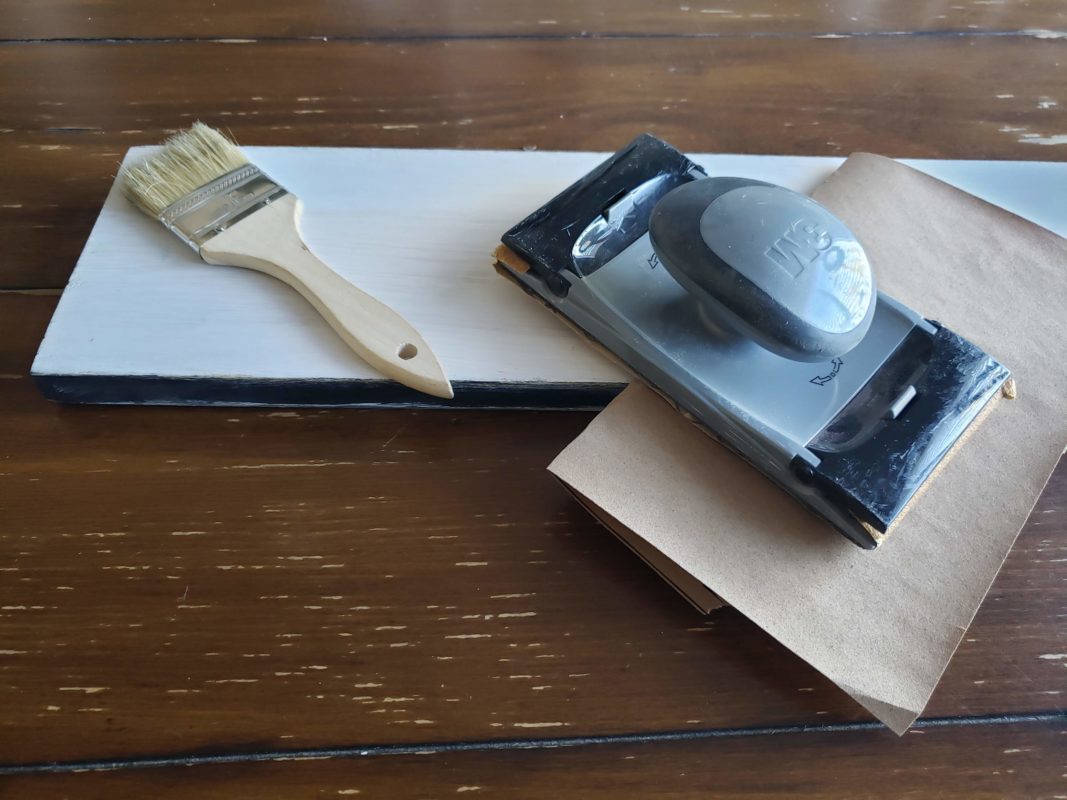
Paint your board black and let dry, then paint a coat of white on top of black and let dry. Then sand lightly until some black shows through for a rustic look, (I like to use the handheld block but you don’t need one) 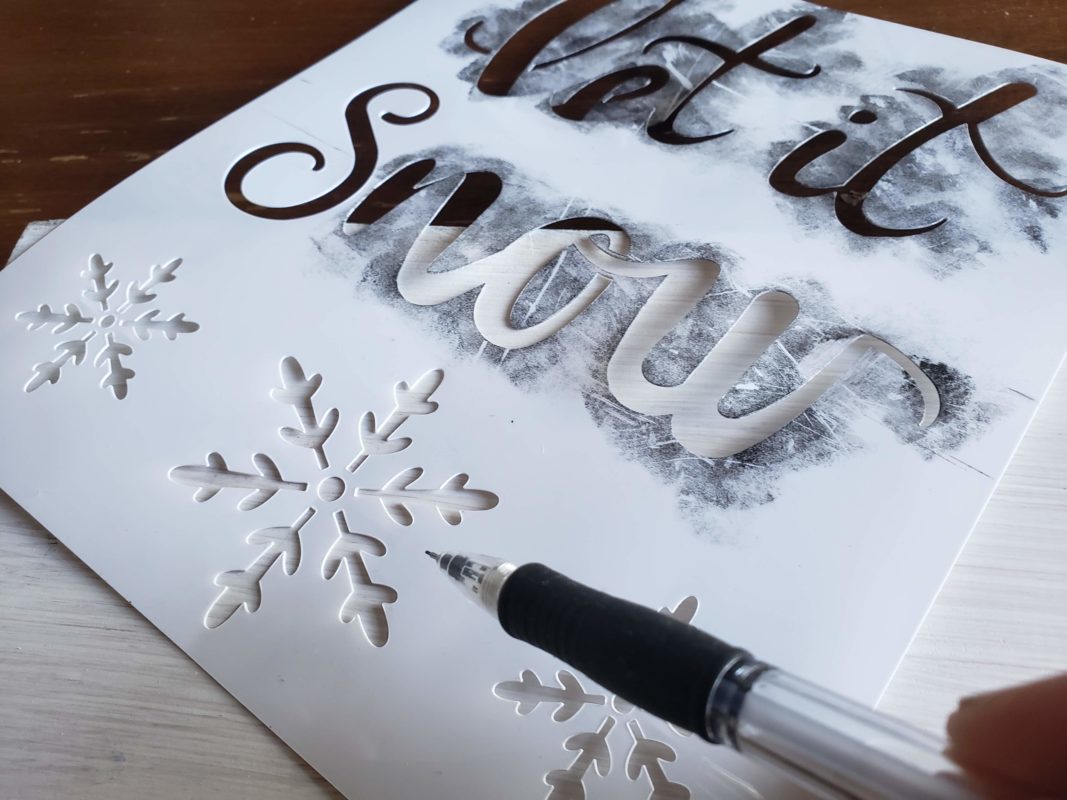
Measure where to put your stencil and dip your brush or foam piece into black paint and lightly dab on on the stencil. After it dries sand it again over the lettering for a rustic look. 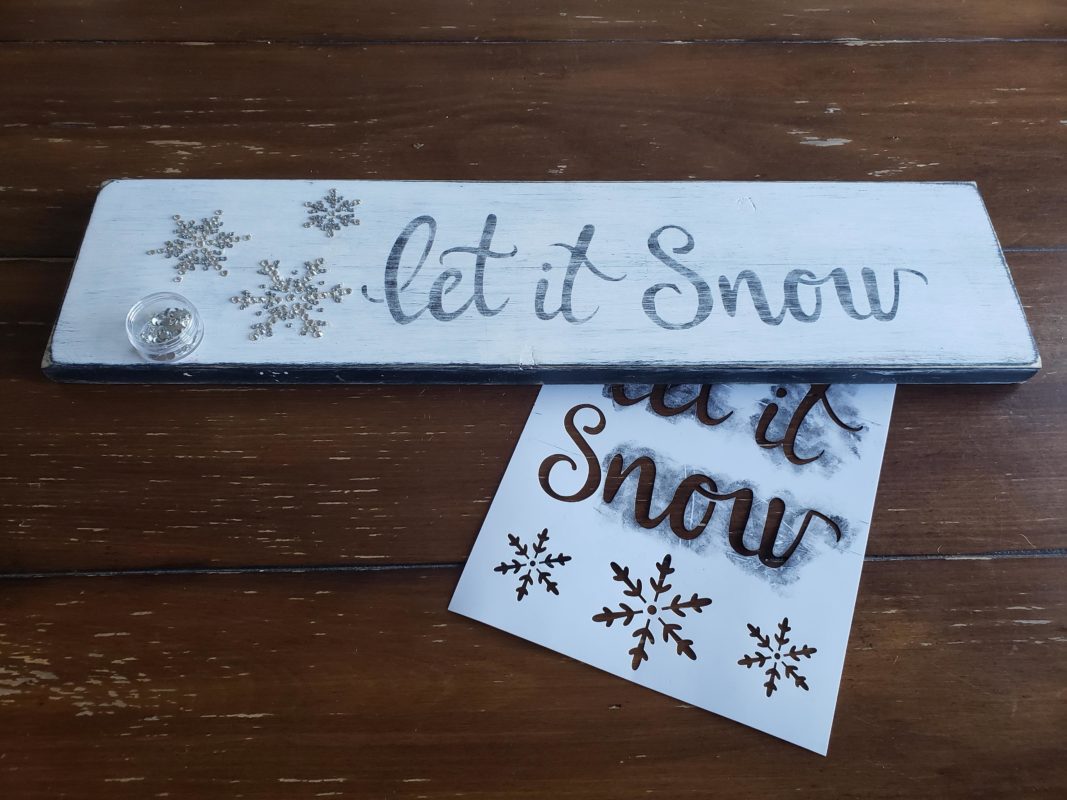
Make little glue dots over your snowflake outline and then place your crystals (I used Swarovski for the sparkle) one by one (I used tweezers) until you finish your snowflakes and let dry. 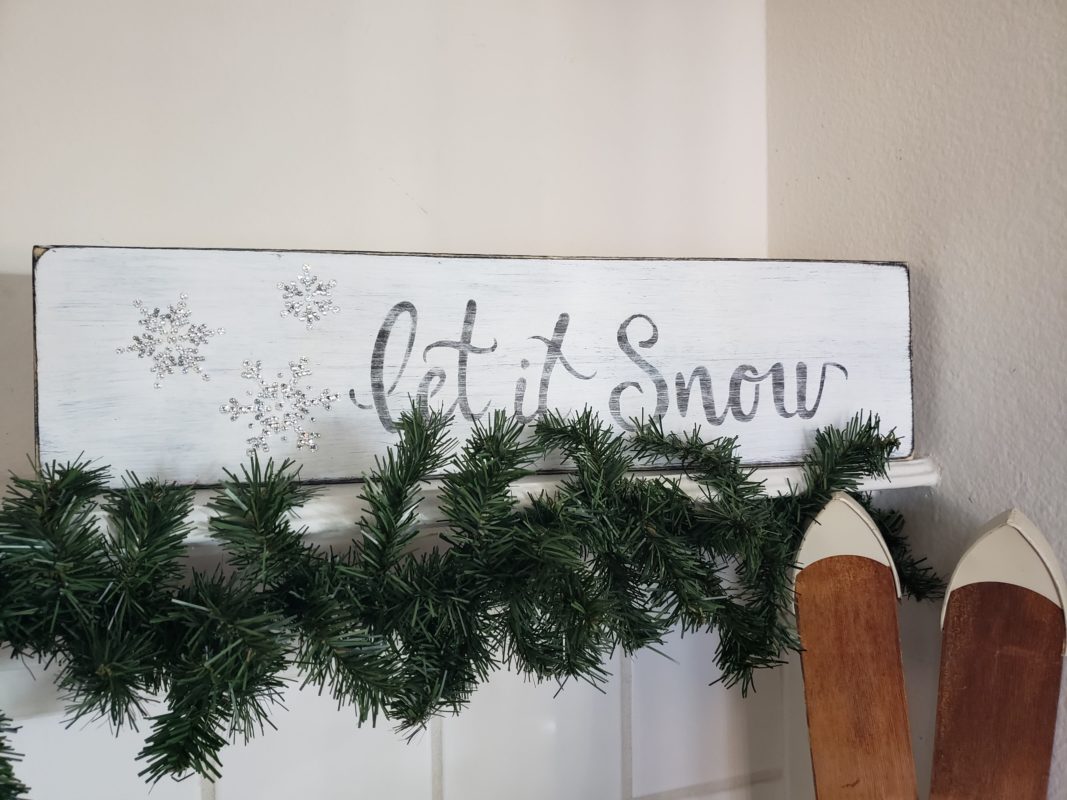
Your finished sparkling, winter sign!
I saved the easiest for last…this project just requires picking up pinecones when you walk or wherever you can find them. Pinecones make the best natural, organic decor and the best part is they are free! But I would strongly suggest cleaning them before use, especially if you put them on a table. There are many ways to clean them or even microwave them so thats up to you… but I just put them in the sink with warm water and 1 cup of vinegar and let them soak for 30 min. Then let them dry outside for a few days and you have instant holiday decor that didn’t cost anything!
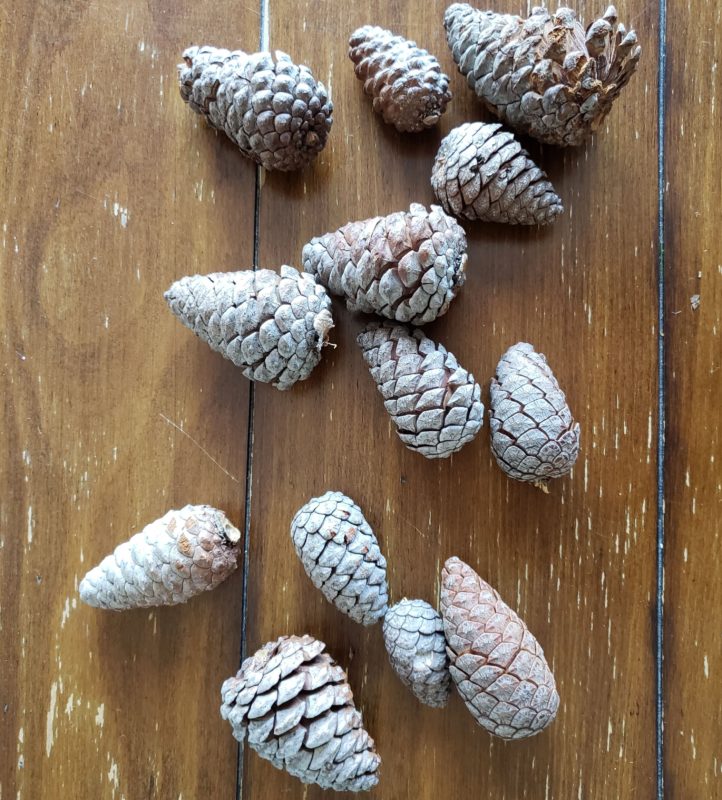
Materials needed: Pinecones or other natural pieces 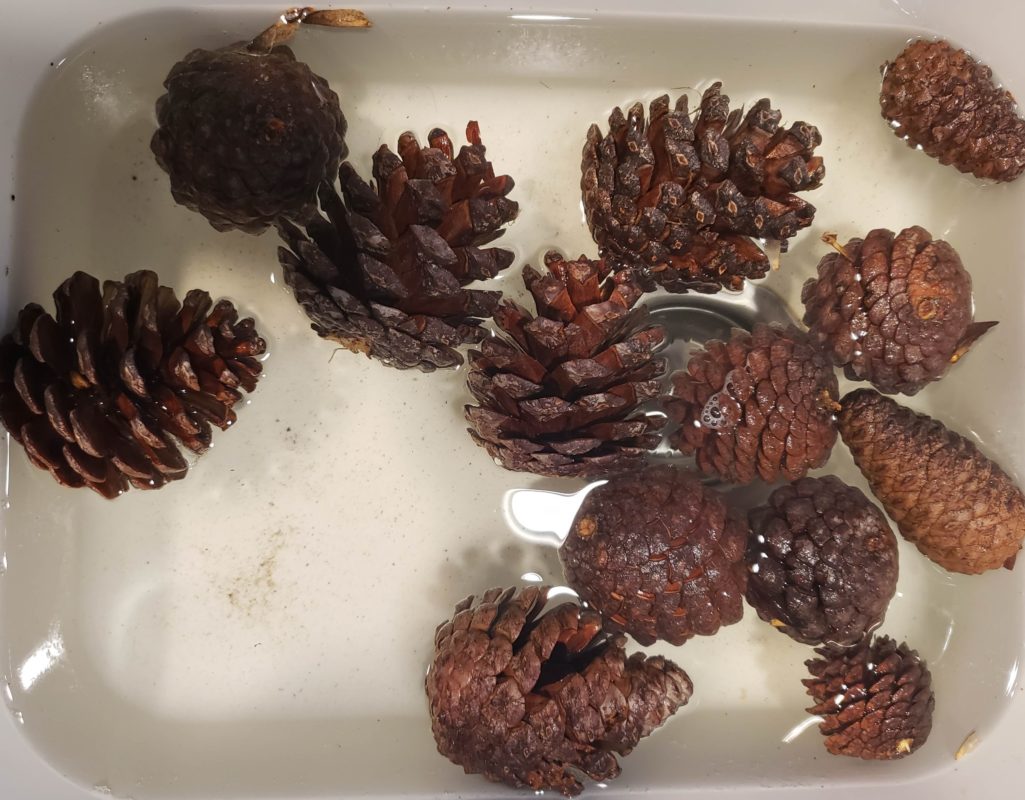
Soak in sink with vinegar for 30 minytes and let dry for a few days 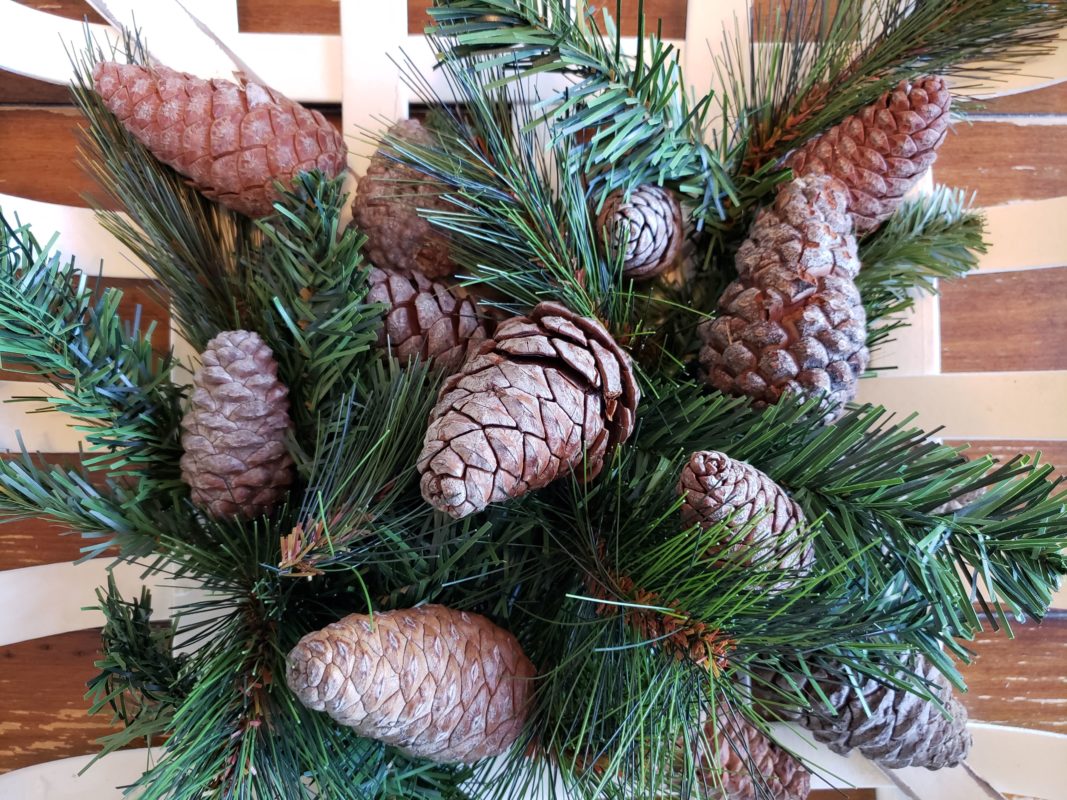
Beautiful pinecones to use in your holiday decor!
I hope you have fun with these projects, they are all quick, easy and budget friendly Christmas ideas. You can do them all in one day and they are great holiday Christmas crafts for kids! Enjoy your holiday decorating and just email me if you have any questions!
Happy Decorating!
Carrie
XOXO


