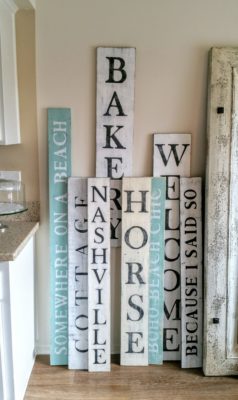
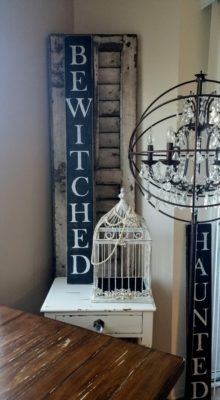
I love rustic design and making my rustic farmhouse signs has become one of my favorite projects! I like easy so this is how I do my signs…or at least what works for me!
For all my DIY friends who want to save time, I am also sharing all the layout template measurements for all 15 signs…the measuring is my least favorite part because I am not a numbers person so I am sharing it with you so you don’t have to do it…yippee!!
These are also for sale on our website!
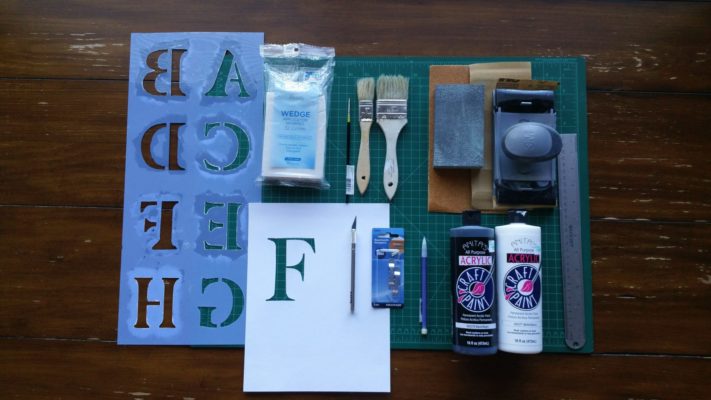
Supplies
- Wood piece for your sign
- White and Black acrylic paint and small dish for paint (or color of your choice for lettering)
- Fine and Medium sandpaper for distressing (I like to use a handheld sandpaper holder but that is optional)
- Ruler and/or tape measure
- Pencil
- Letter stencils that will fit on your sign
- Disposable paper dust mask (optional – if sanding dust bothers you)
- A fine detail paintbrush for detailing
PREPARATION
WOOD: Get out your piece of wood you want to use for your sign. I buy the least expensive 1” thick wood I can at Lowes or Home Depot. The width is up to you, on my layout sheet I have listed the different widths I use listed. I usually get 5 ½”, 7 ¼” or 9 ¼” or 11”. The wood usually comes in 4’, 6’, 8’ and 10’ lengths. Make sure you look at the “Finished Length” on my layout sheet so you don’t buy a 4’ piece of wood for a sign that is going to be 4’ 3 ½” long. You will have to buy a 6’ piece and cut it! The good news is you will be able to use the leftover for other signs, so none is wasted! I always lay it down in the store to make sure it is not warped. I try to layout my signs for the exact 4’ or 6’ size but since many of my signs are custom words and lettering sometimes I need to buy a size up and cut it. It’s better to cut your wood after you stencil in case your measuring is off a little.
LETTER STENCILS: For some of my signs I made my own stencils to get the fonts I wanted and for some I purchased the 3” Roman font stencil from Hobby Lobby (see stencil info on layout sheet)
TEMPLATE LAYOUT SHEET IS AT END OF BLOG
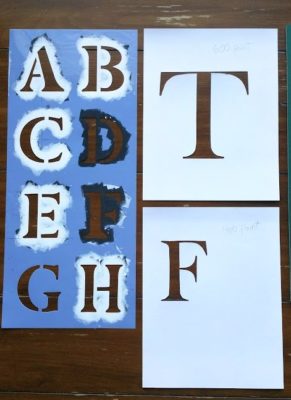
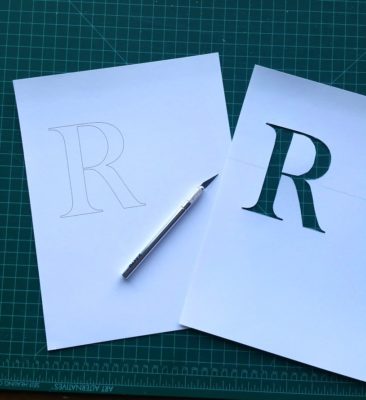
To make your own font stencil and cut them out, under font I select Baskerville Old Face. Under font size at the top of your computer just put in the font size shown on my layout sheet. Example: if it says 600 Point just type in 600. If you don’t want to waste ink; go to font at the top of your computer, select outline and black as the color and select white as the fill color. Then print the letters out on card stock or anything heavier than plain paper so you can use them over and over. Cut them out with an x- acto knife and a cutting mat underneath and you have your letters! Make sure you keep all parts you cut out for stenciling later. I then measure each letter and draw a center line, so I can line it up with the center line on my wood later.
STEP ONE
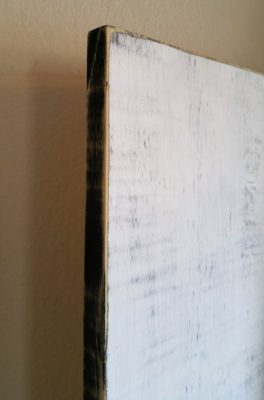
Get out your black acrylic paint and a paint brush and paint the front side and all sides of the sign. Do not paint the back. This is the undercoat which is what will show through when you sand it, so it doesn’t have to be an even coat. (You can also use a different color if you would like) Let it dry for a few hours.
STEP TWO
Now get out your white acrylic paint and a paintbrush (I always have a different paintbrush for white and another paintbrush for black). Paint a white coat of paint over the black on the front of your sign. You can use a different color if you would like. It doesn’t have to be perfect since we will be distressing. You don’t want it too thick or it will take a long time to sand but you want it thick enough to cover the black. I like to leave the sides black or you can do them a color. Once the white dries flip it over and do the back white. I just like to paint the back white, so it looks nicer, but we will not be sanding the back. Let everything dry overnight. (If I’m in a rush I have just waited a few hours instead of overnight but just make sure its dry before you move on to sanding.
STEP THREE
Grab some sandpaper or a sanding block. I like both 220 fine and 120 medium and sometimes I get a courser grit depending on how distressed I want to go. I like to use the sandpaper with a holder, but if you just have a piece of sandpaper that works fine. If you have an electric sander even better! The amount of sanding depends on how distressed you would like it. Start out light, but If you over sand, you can always add paint and sand again. Sand the top of your sign and all the sides but not the white back. I like to sand the edges and corners heavier. Wipe off all dust with a rag.

STEP FOUR
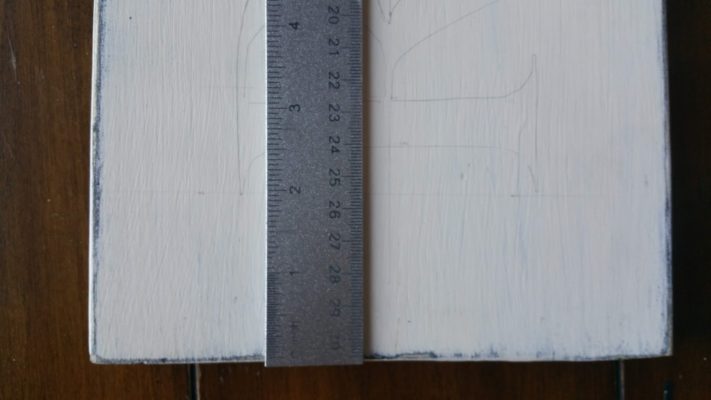
Grab your stencil letters. I have done all the layout work for this part. On my layout instruction sheet you will see a column that says “Font Size” is the size I have figured for the size of wood listed. Please see “Preparation” above for printing and cutting fonts. Next check your “End Space” on the layout sheet, that is the space at each end of your sign. Example: If the end space is 2” then you will measure 2” in and then layout your first letter. You should also have 2” at the other end of your sign when you are finished. You will also see a column called “Word Space” which is the amount of space between words if your sign has multiple words. The “Letter Space” is the measurement between each individual letter. The other columns on my layout sheet are “Direction” which shows if the layout is for a vertical or horizontal sign and the “Wood Width” and “Finished Length” which is what the measurements are based on.
STEP FIVE
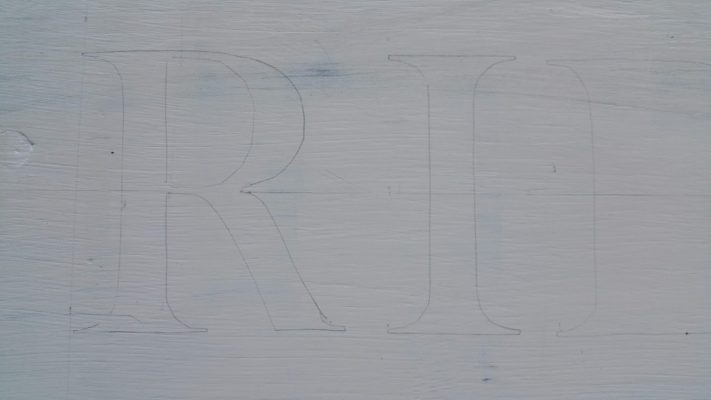
Now its time to layout your letters according to the layout sheet. First, I always draw a light pencil line down the middle of my board to keep the letters lined up, then I erase the line later. Measure and mark your end space and make a pencil mark and then put your first letter down with the left edge at your mark then trace it lightly in pencil. Measure the space needed between letters which is your “Letter Space” and place your next letter down and keep repeating until finished. When you are done, you should have the same amount of space at the end as you do in the beginning.

STEP SIX
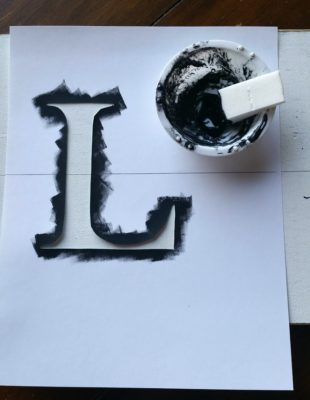
Lay out your first letter exactly on your penciled in letter and hold it tight. I use the little foam cosmetic wedges instead of a brush to stencil, but you can use a brush also. Lightly dab your wedge into the black paint and dab to make your stencil and repeat until all letters are finished. You don’t want it to seep under the stencil, so I always do a light coat and then do a second one. If it seeps under the letter no problem, just take a small paintbrush and paint white over it. Let your sign dry preferably overnight or if you’re in a rush just make sure its dry before sanding.
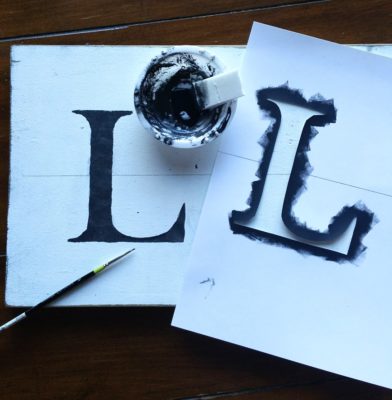
STEP SEVEN
(This is when you will cut your sign to the correct length if you need to, or if not just skip this step. Just make sure to cut the correct end space so it matches the other side and then give the end you just cut a quick sanding and a quick touch up of black paint, so it matches the other sides will dry fast). Now just take your fine sandpaper and lightly sand over the whole front of your sign especially the letters and work your way up to medium grit or course grit if you would like a more distressed look. If you over sand just touch up with the white or black paint!
STEP EIGHT
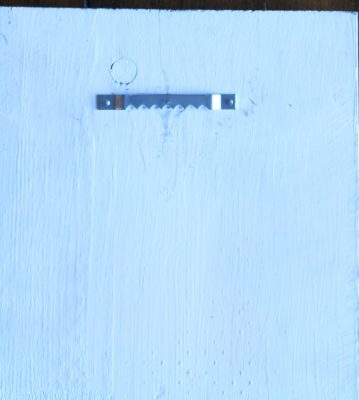
You can spray your signs with a sealer from any craft store if you would like or a waterproof sealer if your sign is going outside. Buy a couple of saw tooth hangers and nail them into the back of your sign for easy hanging. Have fun with different colors and words! CONGRATULATIONS, YOU HAVE NOW FINISHED YOUR SIGN! IF YOU HAVE ANY QUESTIONS PLEASE LET ME KNOW!
WHAT SIGN DID YOU MAKE?
| Sign |
Wood Width |
Finished Length |
End Space |
Letter Space |
Word Space |
Font Size |
Direction |
|
|
|
|
|
|
|
|
| Bakery (Large) |
9 1/4″ |
4′ |
2 1/8″ |
3 1/2″ |
|
600 Point |
Vertical |
|
|
|
|
|
|
|
|
| Bakery (Small) |
7 1/4″ |
4′ |
2 1/4″ |
2 1/4″ |
|
600 Point |
Vertical |
|
|
|
|
|
|
|
|
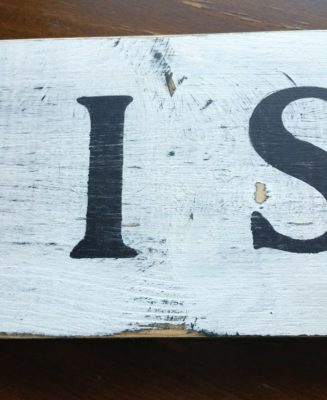
| Because I Said So |
5 1/2″ |
4′ |
2 1/4″ |
1 1/2″ |
2″ |
STENCIL* |
Horizontal |
|
|
|
|
|
|
|
|
| Bewitched |
7 1/4″ |
4′ 2″ |
2″ |
1 1/2″ |
|
400 Point |
Vertical |
|
|
|
|
|
|
|
|
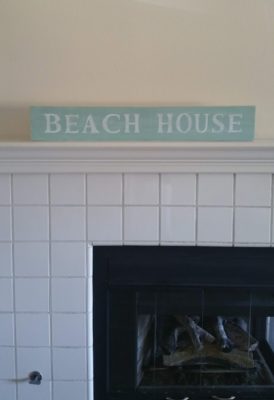
| Beach House |
5 1/1″ |
2′ 11 1/2″ |
2″ |
1/2″ |
3″ |
STENCIL* |
Horizontal |
|
|
|
|
|
|
|
|
| Boho Beach Chic |
5 1/2″ |
4′ |
3″ |
1/2″ |
2″ |
STENCIL* |
Horizontal |
|
|
|
|
|
|
|
|
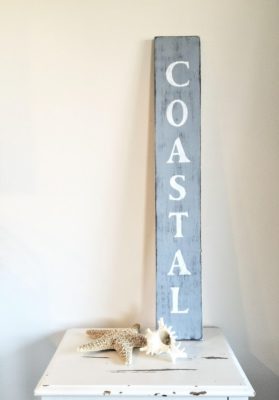
| Coastal |
5 1/2″ |
4′ |
3 1/8″ |
1 1/2″ |
|
STENCIL* |
Vertical |
|
|
|
|
|
|
|
|
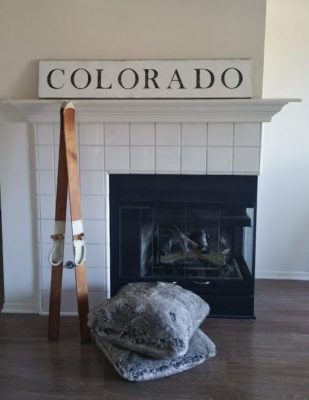
| Colorado |
9 1/4″ |
4′ 2 1/2″ |
2″ |
1 1/2″ |
|
500 Point |
Horizontal |
|
|
|
|
|
|
|
|
| Cottage |
7 1/4″ |
4′ |
4 1/2″ |
2 1/4″ |
|
STENCIL* |
Horizontal |
|
|
|
|
|
|
|
|
| Haunted |
7 1/4″ |
3′ 4 1/2″ |
2″ |
1 3/4″ |
|
400 Point |
Vertical |
|
|
|
|
|
|
|
|
| Horse |
7 1/4″ |
4′ |
2 1/8″ |
3 1/2″ |
|
600 Point |
Vertical |
|
|
|
|
|
|
|
|
| Nashville |
5 1/2″ |
4′ |
2″ |
1 1/4″ |
|
400 Point |
Vertical |
|
|
|
|
|
|
|
|
| Small Town Girl |
7 1/4″ |
4′ |
1/2″ |
1/2″ |
2″ |
316 Point |
Horizontal |
|
|
|
|
|
|
|
|
| Somewhere on a Beach |
5 1/2″ |
5′ 4″ |
3″ |
1/2″ |
2 1/4″ |
STENCIL* |
Horizontal |
|
|
|
|
|
|
|
|
| Welcome |
9 1/4″ |
5′ 9″ |
2 1/2″ |
2 1/4″ |
|
600 Point |
Vertical |
|
|
|
|
|
|
|
|
| * STENCIL was purchased from Hobby Lobby, 3″ upper case Roman stencil by Showoff $5.99 |
|
|
|


")